I recently changed the pads on my daily driver and, as usual, opted to bleed the brakes myself rather than take the car to a shop. Bleeding brakes alone after a pad change can be done reliably with basic tools and a bit of patience — you don’t need a fancy vacuum pump or an assistant if you follow a methodical approach. Below I outline the technique I use every time I do this job alone, the tools I find worth having, safety steps, and the common pitfalls to watch for.
Why bleed the brakes after a pad change?
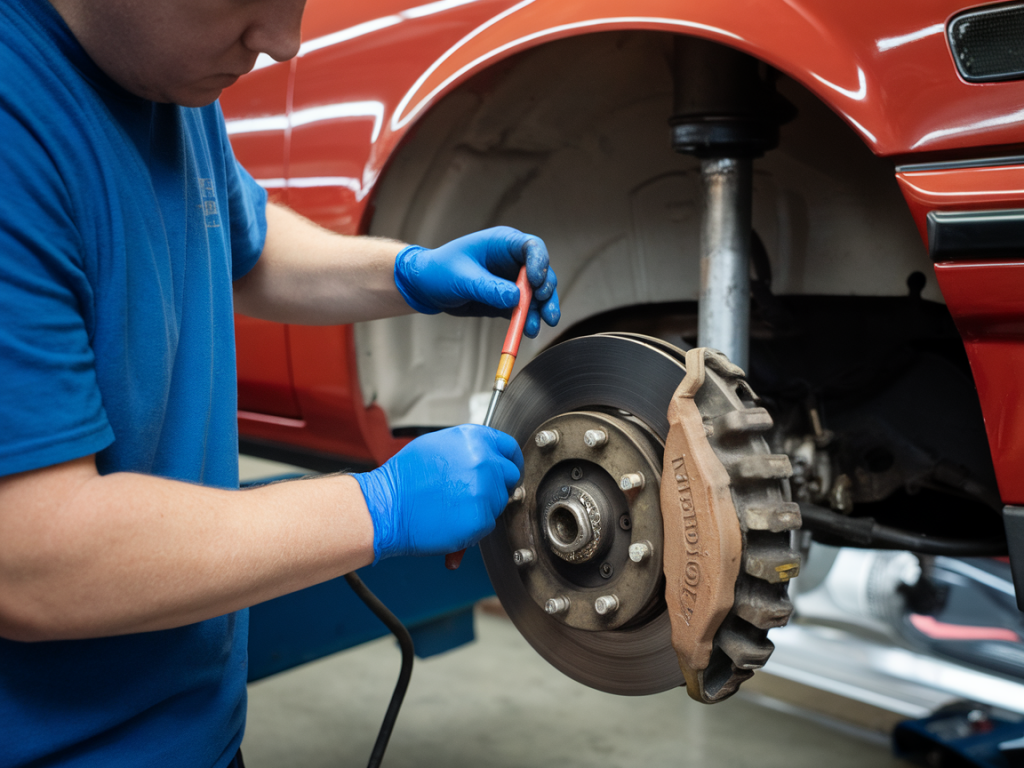
When you replace brake pads, you typically compress the caliper piston(s) back into the caliper to make room for the new, thicker pads. That action can allow a small amount of air into the hydraulic system or move old, degraded fluid around. Even if you don’t see sponginess immediately, fresh pad bedding and pedal feel depend on a clean, well-purged system. I always bleed the system — at minimum the wheel I worked on — to ensure a firm, consistent pedal.
Essential tools and parts
- Box wrench or line wrench that fits the caliper bleeder nipple (commonly 8mm or 10mm)
- Clear vinyl tubing (5–8 mm inner diameter) long enough to reach from bleeder nipple to a catch bottle
- Clean plastic bottle or jar to catch old fluid (I use a recycled glass jar with a tight lid)
- Brake fluid (DOT 3, DOT 4, or DOT 5.1 depending on manufacturer specs) — I prefer ATE or Motul DOT 4 for general use
- Turkey baster or syringe for topping up the master cylinder
- Rags, gloves, safety glasses (brake fluid is corrosive to paint and skin)
- Hydraulic jack and jack stands or ramps
- Shop light and a magnet or tray for small parts
- Optional: one-way bleed valve kit (e.g., Mityvac or Motive Products) for easier one-person bleeding
If you have a one-way bleed kit, it makes life easier because the valve lets fluid flow out without drawing air back in. However, I’ll explain a reliable technique that works without any special one-way tools.
Important safety notes
- Always park on level ground and chock the wheels that remain on the ground.
- Never let the master cylinder run dry — sucking air in there ruins the whole system and requires a full reseal and rebleed.
- Wear gloves and eye protection; brake fluid damages paint and can irritate skin.
- Dispose of used brake fluid responsibly — it’s hazardous waste.
Preparation: set up for single-person bleeding
After installing new pads and compressing the caliper pistons, do the following:
- Lift the car and support it securely on jack stands.
- Remove the wheel to access the bleeder nipple easily.
- Set the master cylinder cap aside, clean around it, and top up the fluid to the "MAX" mark. Keep a tidy rag nearby to wipe spills.
- Attach a clear vinyl tube to the bleeder nipple, and submerge the other end in a jar partially filled with fresh brake fluid or at least some fluid so you can see air bubbles leave the hose and not be re-sucked into the system.
- Loosen (don’t open fully) the bleeder nipple with the correct wrench so you can open it quickly when needed.
One-person bleeding method I use
My go-to approach is the “squeeze-and-hold” method paired with careful master cylinder management. It requires either a helper or a way to hold the brake pedal down; as a solo operator I use a ratchet strap or a wooden block to hold the pedal when needed. Steps below assume you can access the pedal and apply pressure manually or secure it temporarily:
- Have the bleed nipple closed. With a friend this part would be easy, but solo you’ll do small iterative actions: slowly depress the brake pedal about halfway and hold pressure (or use a strap to hold it in position).
- Crack the bleeder nipple open about a 1/4-turn. Fluid and air will travel into the tube and bubble into the jar. Tighten the nipple again and release the pedal slowly. Repeat this squeezes/open-close cycle until no visible bubbles come out.
- Between each cycle, check and top up the master cylinder using the turkey baster or syringe. Never let it fall below the MIN mark. I usually keep it at or near MAX to minimize the chance of sucking air in.
- Continue until the fluid leaving the bleeder is clear and bubble-free for several consistent strokes.
It’s a slow process, but doing several small cycles is safer than risking a full pedal travel with the reservoir going dry. If your pedal is too stiff to hold, use a strong ratchet strap around the brake pedal and the seat frame to maintain pressure while you open the bleeder.
Alternative: vacuum/one-way pump technique
If you have a small vacuum pump or one-way bleeding kit, attach it to the bleeder nipple. Pump until fluid runs clean and bubble-free. This is faster and easier as a solo operator, but you still must keep the master cylinder topped up. One-way kits with check valves prevent the vacuumed fluid from allowing air back into the caliper when you stop pumping.
Bleeding order and ABS systems
For conventional systems without ABS, the common order is start with the furthest wheel from the master cylinder and work toward the closest — typically right rear, left rear, right front, left front on left-hand-drive cars. Check your vehicle manual for the correct sequence; some manufacturers reverse it.
If your car has ABS, the system can trap air in the module. A simple post-bleed road test often allows the ABS module to self-prime (pulses during brake application can purge air). For some ABS modules a scan tool with an ABS bleed function is required. If you suspect air in the ABS unit or the pedal feels soft after bleeding each caliper, plan to use a professional scan-tool bleed or visit a shop.
Checking and finishing
- Once all four corners are bubble-free, re-tighten bleeder nipples to manufacturer torque (if you don’t have a torque spec, tighten firmly but avoid rounding the nipple — a snug 8–12 Nm is common on many passenger cars but check your manual).
- Top the master cylinder to MAX, reinstall the cap, and clean any spilled fluid from painted surfaces immediately.
- Pump the pedal a few times with the engine off to confirm firmness. It should feel firm and not spongy. If it’s soft, go back and repeat bleeding where needed.
- Reinstall wheels, lower the car, torque wheel nuts to spec, and perform a slow road test in a safe area. Test braking response at low speed first to confirm normal operation.
Common problems and troubleshooting
- Pedal remains spongy: Likely air remains. Re-bleed the affected circuit and ensure master cylinder never ran dry.
- Bleeder keeps leaking: The bleeder nipple or its seating may be damaged. Replace it before continuing.
- Master cylinder overflows: Stop and remove excess fluid; don’t let it spill on painted surfaces.
- ABS light on after bleeding: You may need an ABS cycle with a scan tool or a dealer visit to reset or purge the module.
Quick reference table: brake fluid choices
| Fluid | Typical use | Dry boiling point (approx.) |
|---|---|---|
| DOT 3 | Older passenger cars | 205–260°C |
| DOT 4 | Modern cars, common choice | 230–280°C |
| DOT 5.1 | High-performance, high-temp systems | 260–310°C |
I’ve bled brakes dozens of times using the method above. It’s not glamorous, but with patience, attention to detail, and the right safety mentality, a one-person brake bleed after a pad change is entirely doable with basic tools. If you run into persistent problems — especially with ABS — that’s a good time to consult a professional or use a scan tool to perform the manufacturer-recommended bleed routine.