I remember the first time I felt that low-frequency shimmy through the steering wheel on my alloy-equipped daily driver — a heavy, unsettling vibration between 50 and 70 km/h that seemed to come and go. Replacing the entire front end felt drastic, expensive, and often unnecessary. Over the years I’ve learned that most persistent steering shimmies on alloy wheels can be fixed without swapping struts, control arms, or hubs. Below I walk you through how I diagnose and fix these shimmies step-by-step, using shop-proven techniques and practical DIY tips you can try at home before committing to major repairs.
What causes a steering shimmy on alloy wheels?
Before jumping into fixes, it helps to know why shimmy happens. In my experience the most common causes are:
Wheel imbalance — even small weight displacement becomes noticeable at speed on alloy wheels.Wheel or tire runout — the tire or rim isn’t perfectly round or centered (radial/axial runout).Hub-centric mismatch — alloy wheels that aren’t hub-centric can sit off-center causing vibration.Loose or uneven lug torque — uneven clamping can shift the wheel under load.Brake rotor runout or warped rotors — can transmit vibration to the steering if severe.Worn steering/suspension components — tie rods, ball joints, wheel bearings, or bushings with play.Uneven tire wear or internal belt separation — not always visible from the outside.Knowing which of these is at play helps prioritize repairs. Wheel imbalance and runout are the easiest to confirm and fix, so I always start there.
Step-by-step diagnostic checklist
Here’s the practical process I use. Do the items in order — it saves time and avoids unnecessary parts replacement.
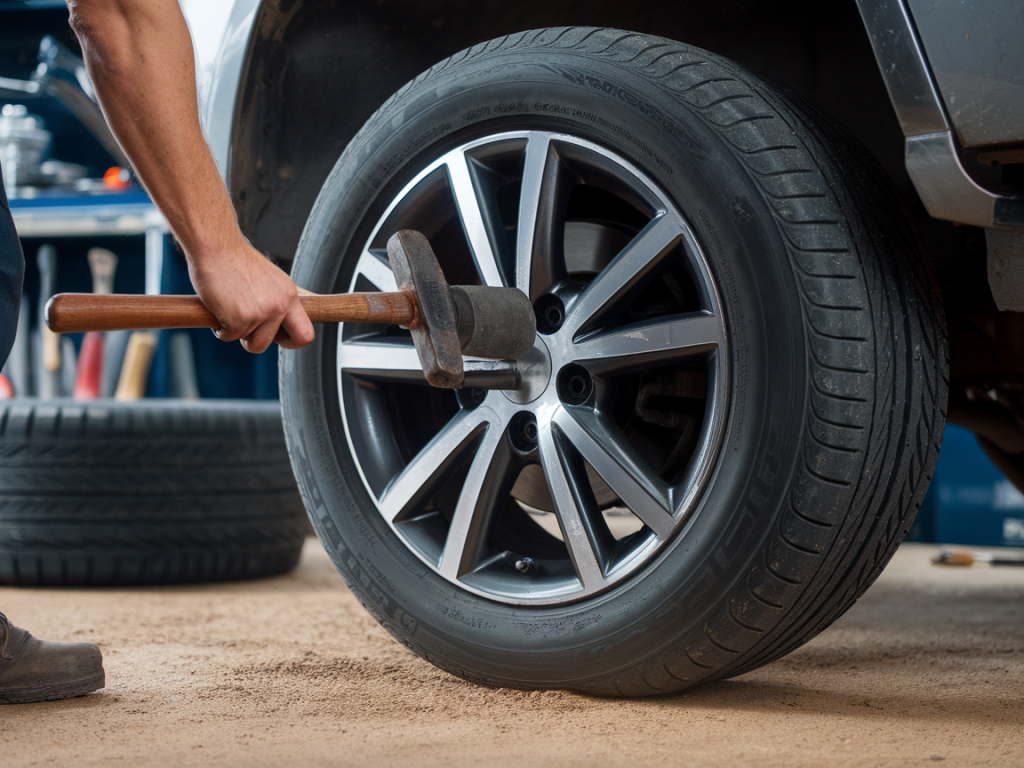
Road test carefully: note speed range, steering direction, whether vibration changes under braking or cornering.Check lug nuts: with the car on the ground, re-torque lug nuts to the manufacturer spec in a star pattern. I use a calibrated torque wrench — cheap torque wrenches can be misleading.Inspect tires: look for bulges, flat spots, uneven wear, or visible separation. Rotate tires if possible to see if the vibration follows a corner.Listen and feel: jack the front wheels up and spin them by hand (car in gear or using a helper). Check for lateral/free play at the wheel — looseness points to tie rods, ball joints, or bearings.Check wheel bearing play: grab the wheel at 12 and 6 o’clock and rock it. Any noticeable movement likely indicates bearing or hub issues.Brake rotor inspection: look for heavy scoring and use a dial indicator if you have one to check lateral runout (anything >0.1–0.2 mm can be significant).Static balance and runout check: take the wheels and tires to a shop for static/dynamic balancing and runout measurement; request a road-force balance if the shop has a Hunter machine.Fixes that actually stop the shimmy (without replacing the front end)
These are the fixes that have worked repeatedly for me and for drivers I’ve helped — starting with the least invasive.
Proper balancing — dynamic and road-force: basic dynamic balancing is the minimum. If the vibration persists, ask for road-force balancing. A road-force balancer simulates road contact and can find high spot issues in the tire or wheel/tire assembly that a standard balancer misses. Brands like Hunter are common and effective.Clean the hub-to-wheel mating surface: remove the wheel and clean both the hub and wheel face. Old rust, corrosion, or trapped debris can offset an otherwise balanced wheel. I keep a wire brush and brake cleaner in the garage for this. After cleaning, install hub-centric rings if your wheels don’t seat perfectly on the hub — Centric rings are a reliable, low-cost fix.Use proper wheel weights and placement: sometimes moving clip-on weights slightly or using adhesive weights on the inner barrel corrects balance better. Adhesive weights (lead-free) can be placed precisely at the high spot identified by balancing.Torque lugs correctly with anti-seize or thread locker as specified: clean threads, ensure studs are in good condition, and torque in a star pattern to the factory spec. I avoid aerosol impact guns for final torque — always use a torque wrench.Correct tire issues: if a tire has internal belt damage or a bad spot, replacing the tire is necessary. For tires with uneven wear, a proper alignment and rotation plan fixes long-term issues. Preferred tire brands I’ve seen perform well and wear evenly include Michelin and Continental, but correct mounting and balancing matter as much as brand.Correct rotor runout without replacing the rotor: if runout is due to rust or high spots on the rotor hat, removing the rotor and cleaning mating surfaces or resurfacing (turning) the rotor can help. However, if the rotor is thin or heavily damaged, replacement is safer.Replace minor worn steering components: small worn parts like outer tie rods or sway bar end links are inexpensive compared to a front-end overhaul and often resolve shimmy. I usually replace any part with play rather than adjust around it.DIY fixes I do at home
If you’re comfortable under the car and have basic tools, here are practical DIY tasks to try before visiting a shop:
Clean hub and wheel mating surfaces with a wire brush and brake cleaner.Re-torque lug nuts in the correct sequence to factory spec using a torque wrench.Swap front tires side-to-side to see if the vibration follows a wheel (that identifies a wheel/tire issue).Visually inspect steering and suspension for torn boots, leaking shocks, and play.Mount hub-centric rings if wheels are slightly oversized for the hub bore.When to go to a shop or a specialist
Take the car to a professional if:
The vibration persists after balancing and cleaning the hub.You detect wheel bearing noise or measurable play.Steering components show play or damaged boots.A road-force balance shows high radial forces or wheel/tire mismatch.Ask for a road-force balance and a dial-indicator runout check. A quality independent shop or dealer with Hunter balancers can save you time and avoid unnecessary front-end replacements.
Quick troubleshooting table
| Symptom | Likely cause | Action |
| Vibration at 50–70 km/h | Wheel/tire imbalance or runout | Dynamic + road-force balance; clean hub; hub rings |
| Vibration under braking | Rotor runout/warped rotors | Measure runout; resurface or replace rotor |
| Vibration at all speeds | Steering/suspension play | Inspect/replace tie rods, bearings, bushings |
| Vibration follows wheel after rotation | Tire or wheel defect | Replace defective tire or repair wheel |
I’ve fixed shimmies by cleaning hub corrosion, using hub-centric rings, rebalancing with road-force, and replacing a single worn outer tie rod end — none of which required a full front-end replacement. Start with the simple checks and balance work; you’ll often find the shimmy disappears long before you need to reach for your wallet for major parts.