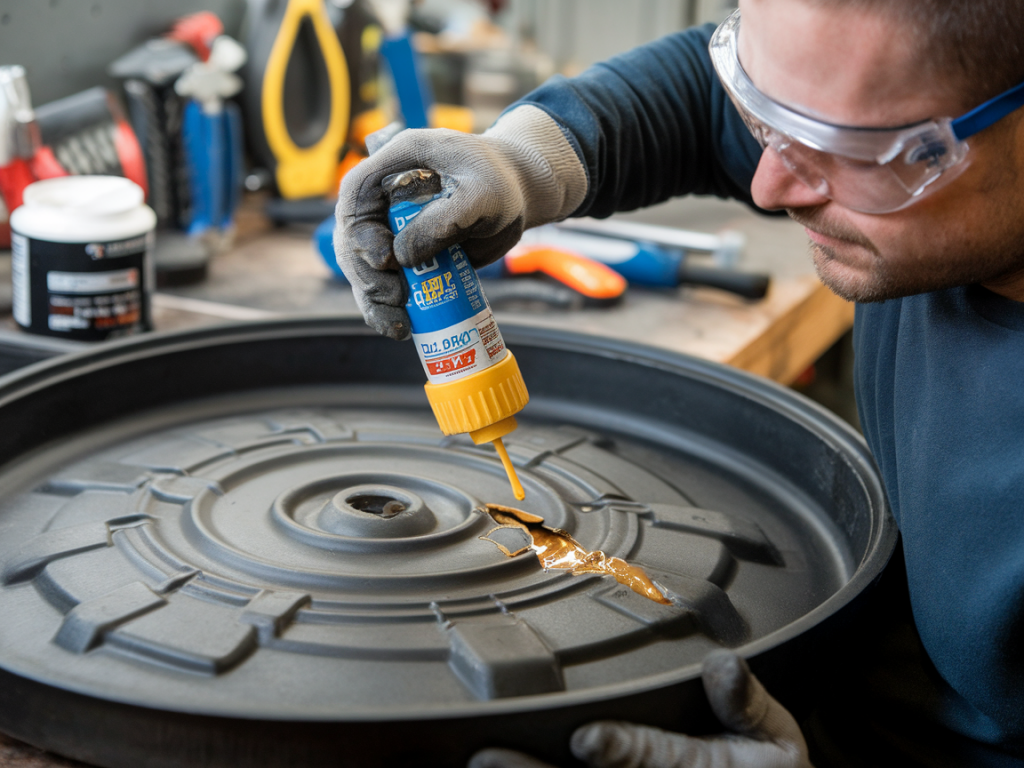
I’ve patched a few oil pans in my garage over the years — sometimes out of necessity, sometimes as a temporary fix to get a car home. Done properly, sealing a small oil‑pan crack with epoxy can be a safe, cost‑effective solution. Done poorly, it can make a bad situation worse. Below I walk through how I decide whether to patch or replace, the materials I trust, and a step‑by‑step method that worked reliably for me on several late‑model passenger cars.
When a patch is an acceptable option
Not every hole or crack in an oil pan is worth repairing. I’ll only consider an epoxy repair if these conditions are met:
Crack or hairline split is small (generally < 5 mm / ~3/16").Damage is limited to the pan flange or flat face — not around the drain plug or a threaded hole.Pan is steel or ductile cast iron. Thin stamped pans are less forgiving.Crack is external only — no internal baffle damage or major deformation.Repair is treated as a medium‑term fix (months to a couple of years) while I source a replacement or schedule a proper repair.If the crack is at the drain plug, crosses a weld, is large, causes structural deformation, or the oil is leaking rapidly, I replace the pan. Also replace if the vehicle carries heavy loads, towing duties, or long highway drives — those conditions increase operating stresses and heat which can defeat an epoxy repair.
Materials and products I use
I’m selective about adhesives and prep materials. Cheap epoxy from a hardware bin often fails; I prefer products rated for oil contact, oil temperatures, and metal bonding. My go‑to list:
JB Weld Original — classic two‑part epoxy, works well on steel and cast iron, temperature rating up to ~550°F (depending on product), cures to a hard metal‑like finish.Loctite Epoxy Heavy Duty — good for thinner pans, cures strong and workable in automotive environments.Permatex PermaPoxy — some formulations are specifically oil‑resistant and designed for engine repair.Also gather:
Brake cleaner or a good degreaser.Sandpaper (80–320 grit), wire brush.Acetone or isopropyl alcohol for final cleaning.Masking tape and clean rags.Plastic scraper or putty knife.Torque wrench and socket set (for removing and reinstalling the pan).Preparation: don’t skip this
Surface prep is the single most important part of a successful repair. I never try to “bond” epoxy to a greasy, dirty pan and expect it to hold. These are the steps I follow:
Drain the oil and remove the pan if feasible. In my experience, removing the pan makes the job far cleaner and more reliable. If you can’t remove it, at minimum clean and sand the area thoroughly and work on a cool engine.Remove as much oil and sludge as possible. Use a vacuum or shop towels, then spray brake cleaner and wipe until clean.Sand the area around the crack. Start with 80–120 grit to open up the crack and create a rough surface, then finish with 240–320 grit for a clean profile. If there’s a ridge, grind it down carefully to allow the epoxy to bridge evenly.Degrease with acetone or isopropyl alcohol and let it fully evaporate.Mask around the repair area with tape to keep the epoxy neat and protect surrounding surfaces.Step‑by‑step repair method
Here’s the sequence I use after prep. Times are approximate — always follow the epoxy manufacturer’s instructions for mixing and cure time.
Mix the two‑part epoxy thoroughly on a clean, disposable surface. Work fast — cure times can start once mixed.Apply a thin base layer of epoxy directly into the crack with a small spatula or disposable applicator. Vibrate the pan slightly or press the epoxy in so it penetrates the crack as much as possible.Press a small stainless steel or copper mesh patch into the wet epoxy if the crack is a small slit rather than a pinhole. This provides reinforcement and distributes stress. For very small holes, epoxy alone is usually enough.Build up the epoxy in layers rather than one thick glob. I’ll apply 2–3 layers, allowing the manufacturer’s recommended time between layers (often 10–30 minutes for tacky set, longer for full cure).Feather the edges so there are no sharp transitions that could catch or chip. Smooth the final layer with a wetted finger (nitrile glove) or tool.Let the repair cure fully at room temperature. Most epoxies reach handling strength in hours but require overnight or 24–48 hours for full chemical resistance. If your product specifies heat curing, follow those instructions carefully.Reinstall the pan with a new gasket or sealant as specified by the vehicle manufacturer. Torque the bolts to spec in a cross‑pattern to prevent warpage. I keep a photo of the bolt pattern and torque sequence handy when reassembling.Refill with fresh oil and run the engine, checking for leaks. Inspect after a short test drive and again after a few days of normal driving.Testing and follow‑up
After reinstalling and refilling, I always:
Start the engine and let it reach operating temperature while parked, checking for leaks with the hood up and a bright light.Look for seepage during the first hour of operation, then recheck after a 50–100 km drive. Small leaks that worsen indicate failure and require replacement.Plan to re‑inspect the repair regularly — at oil changes or weekly for the first month.When you must replace the oil pan
There are clear signs that a repair is only a temporary bandage:
Leak is at or near the drain plug threads — stripped threads or a damaged insert means the pan needs replacement or professional thread repair.Large or multiple cracks, especially around corners or bends.Crack crosses a gasket sealing surface, deforming the flange — torque and gasket sealing becomes unreliable.Aluminum pans with thin walls or cracks that run to mounting bosses. Aluminum repairs are less predictable; replacement is usually best.Significant impact damage, punctures, or corrosion eat‑through.Quick comparison of common epoxies
| Product | Temp rating | Best used for |
| JB Weld Original | Up to ~550°F (service) | Steel/cast iron pans, reinforced repairs |
| Loctite Epoxy Heavy Duty | Up to ~300–400°F | Small holes, stamped pans, quick repairs |
| Permatex PermaPoxy | Varies by formula, often oil‑resistant | Engine components, oil‑resistant applications |
Note: Temperature ratings are manufacturer nominal figures and depend on exact formulation and operating conditions. Heat cycling under an engine environment can change behavior — that’s why I treat epoxy fixes as medium‑term solutions unless the product explicitly states long‑term engine service use.
Safety and practical tips from my experience
Always work on a cool engine and wear gloves — many solvent cleaners and epoxies are skin irritants.If you remove the pan, replace the drain plug gasket and use a new pan gasket or silicone as the OE recommends.Keep your repair documented — take pictures and note the date and mileage. That helps track whether the fix is holding.If you tow or drive in extreme conditions, prioritize replacement over repair. I’ve seen patched pans fail under towing stress.Consider a professional welding shop for aluminum pans — a TIG weld is far superior to epoxy if done correctly.When done carefully and with the right product, epoxy repairs can save you time and money. I treat them as part of a toolbox of practical, realistic options — not as a permanent cure for every problem. If you want, I can write a step‑by‑step guide showing the pan removal and reinstallation process for a specific car model; tell me the make and engine and I’ll tailor the steps to that vehicle.