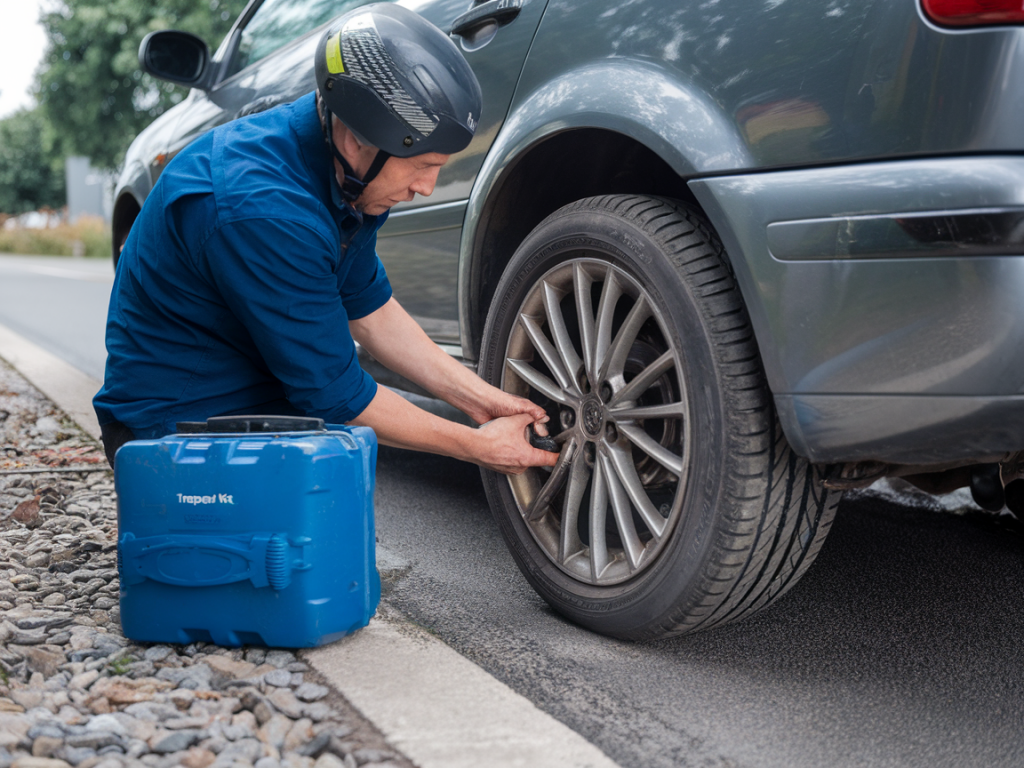
I’ve faced my fair share of roadside dramas: flat tyres at night, cars blocking my driveway, and once, a cracked alloy wheel that left me debating whether to try a makeshift fix or call a tow. I’ll be honest — a cracked alloy is not the kind of damage you want to ignore. But there are safe, temporary steps you can take at the roadside to get home or to a workshop without making the problem worse. Below I walk you through what I do, the kit I carry, and the exact steps that have helped me on the road.
When you can consider a temporary repair (and when you can’t)
First things first: not every cracked wheel is reparable at the roadside. The severity and location of the crack determine whether a temporary fix is sensible.
Consider a temporary roadside repair only if:
Do not attempt a roadside fix if:
What to carry in a roadside alloy repair kit
I always keep a compact kit in the boot. It’s designed to buy me time and help me get to a safe workshop. Below is a practical list and a small table that’s easy to copy into your own packing list.
| Item | Why it helps |
|---|---|
| Tyre sealant (e.g. Slime, Fix-A-Flat) | Seals small leaks quickly so you can regain air pressure and avoid immediate deflation. |
| Portable inflator / 12V compressor | Re-inflates the tyre to a safe pressure after using sealant. |
| Bead sealer / rim tape | Helps seal gaps where the tyre bead meets the rim if the crack causes a slow leak there. |
| Rim repair band or clamping strap | Temporary mechanical support that compresses the rim edges so the tyre bead can hold air. |
| Basic tools (jack, wheel brace, gloves) | To remove the wheel safely and fit any temporary devices. |
| High-visibility vest & hazard triangle | Safety essentials for working roadside. |
Step-by-step: safely making a temporary repair
Assuming the crack is marginal and you’ve judged a temporary repair reasonable, this is the workflow I use. Take your time, keep safety first, and if anything feels unsafe, call for a tow.
Move off the road to a flat, stable area away from traffic. Turn on hazard lights, apply the parking brake, and put the car in gear (or park for an automatic). Set the hazard triangle at a sensible distance behind your vehicle and put on a high-vis jacket.
Don’t put your hands near sharp edges. Look for where the crack runs — if it crosses the hub flange or a spoke base, stop and call for professional help. Small rim cracks near the outer lip or within the barrel are where temporary measures can sometimes work.
If you’re confident in safely jacking up the car and removing the wheel, loosen the wheel nuts slightly before jacking, then remove the wheel completely. Working with the wheel off the car makes the next steps much easier and safer.
For rim-lip cracks causing a slow leak at the bead:
If the tyre itself has no damage but air leaks at the rim due to the crack, a rim repair band or clamping strap can compress the rim edges and restore the tyre’s ability to hold air. Fit the band according to the manufacturer’s instructions and then inflate.
If the crack allows sealant access to the tyre interior, products like Slime or Fix-A-Flat can help. They won’t fix the alloy but can seal the tyre’s inner liner and slow or stop a leak. Follow the product instructions carefully — these are temporary fixes only.
Put the wheel back on, lower the car, and torque the wheel nuts to the manufacturer’s specified values. Recheck tyre pressure after a short drive (5–10 minutes) once the tyre has settled. Keep your speed low and avoid highways — aim straight for a reputable workshop.
Driving after a temporary repair
Slow and short is the rule. I treat any vehicle with a temporary rim repair the same as if I had a temporary spare: no sustained high speeds, no heavy cornering, and no long distances. Aim to reach a specialist wheel repairer or your preferred garage within 30–100 km if possible.
On the way, periodically re-check tyre pressure where it’s safe to stop. If pressure falls or handling becomes odd, stop immediately and call for a tow.
Permanent repair options and why they’re important
Alloy wheels are typically welded, then re-machined and balanced by specialists. Welding should be done by a professional using the appropriate filler material and post-weld heat treatment if necessary. After welding, the wheel must be checked for structural integrity and balanced to avoid vibrations that can damage suspension and tyres.
Do not rely on a temporary fix as a permanent solution. A poor long-term repair or ignoring a cracked wheel can lead to tyre loss, wheel separation, or loss of control.
Brands and products I’ve used or recommend
I carry these items not because I expect to fix every problem myself, but because they buy me options: the ability to get to safety and to a proper repair shop rather than being stranded or making a costly mistake trying to drive on an unsafe wheel. If you’re not sure at any point, don’t hesitate to get professional help — safety always comes first.