I had a stubborn Renault Clio with a badly corroded exhaust flange and, like a lot of DIYers, I wanted to fix it using only basic tools. If you’re reading this, you probably want the same: a straightforward, realistic walkthrough that doesn’t rely on a full professional shop. I’ll walk you through how I replaced the corroded exhaust flange using common tools, what worked, what didn’t, and the small tricks that saved me time and money.
Why a corroded exhaust flange matters
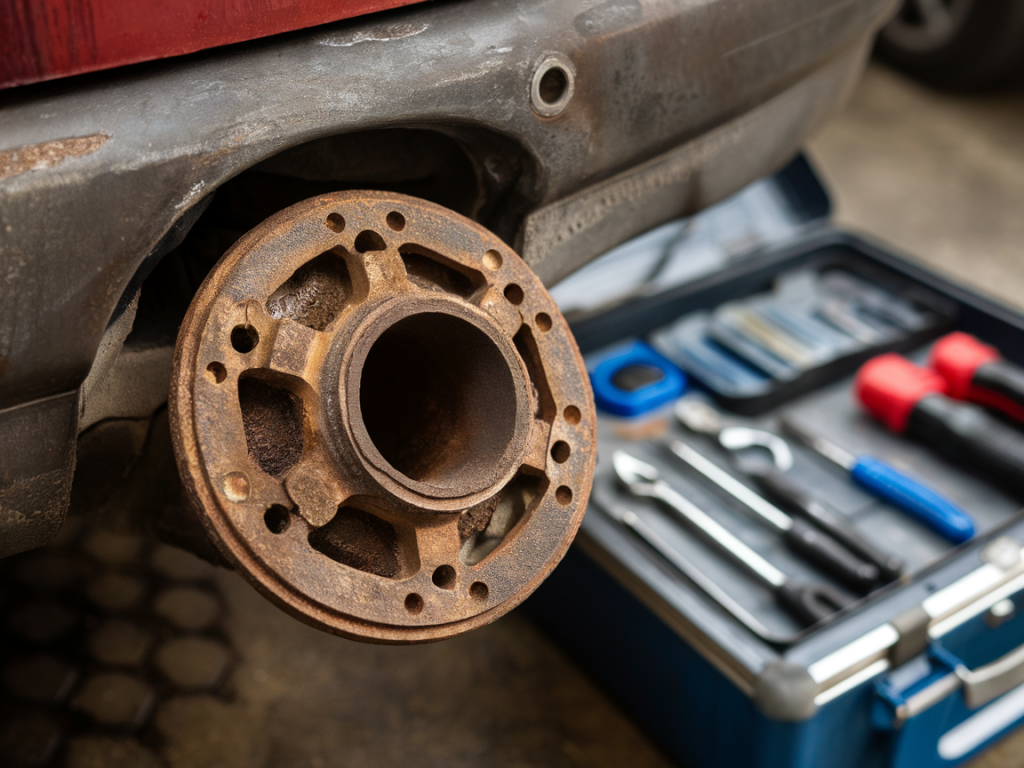
An exhaust flange seals the joint between sections of the exhaust system (manifold, downpipe, midpipe, or silencer). When the flange is corroded, exhaust gases leak, you might hear a ticking or hissing noise, experience reduced efficiency, and risk exhaust fumes entering the cabin. On older Clios, flanges and their bolts often seize from rust. Replacing the flange restores a proper seal and removes annoying leaks.
What I used — basic tools and parts
I kept the tool list deliberately simple. You don’t need fancy tools, but you do need patience and a few consumables.
Optional but useful: heat source (propane torch) for heating the nut/stud to break corrosion, and a wire wheel for a drill to clean flange surfaces. I managed without power tools for most of this job.
Preparation: safety and inspection
First, let the car cool completely. Exhaust components stay hot for a long time, and trying to loosen bolts when hot invites burns. Park on level ground, apply the handbrake, chock the rear wheels, jack up the front (or rear depending on flange location) and use axle stands. Never trust a jack alone.
Inspect the flange area from below and from the top (if accessible). Identify whether you’re dealing with flange-to-flange bolts, studs screwed into the manifold, or welded studs. Note the bolt head size and whether nuts are on the flange side. Take photos — they’ll help when reassembling.
Freeing seized bolts and studs: step-by-step
Corrosion is the main enemy. I used this approach, in order:
Note: using a torch near fuel or sensors is risky — make sure fuel lines and wiring are out of harm’s way and that the area is well ventilated.
Removing the old flange
Once bolts or studs are removed, separate the flange faces. Often the rusted flange will stick — a few gentle hits with a hammer on the outer edge, or using a pry bar in a protected spot, will break it free. Be careful not to bend the mating surface badly. If the flange is part of a larger section (like a muffler) and you plan to replace only the flange, ensure you can get the pipe into a position for a proper seal.
With the joint open, inspect the mating surfaces. Remove as much rust, carbon and old gasket material as possible with a wire brush and file. The cleaner the surface, the better the new gasket will seal.
Choosing replacement parts
I recommend replacing gaskets and hardware when you replace the flange. You can buy a complete flange kit for Renault Clio models from aftermarket suppliers or an OEM part from a dealer. For bolts, use high-temperature grade fasteners (stainless or coated exhaust bolts) and apply a thin layer of anti-seize to the threads to make future removal easier.
| Item | Recommendation |
| Gasket | OEM or graphite/fiber exhaust gasket sized for Clio flange |
| Bolts/studs | Stainless M8/M10 depending on flange, or OEM replacements |
| Anti-seize | High-temp copper or graphite anti-seize |
Fitting the new flange
Place the new gasket between the clean mating surfaces. If your new flange is a welded-on replacement, loosely fit the bolts to keep everything aligned. I always hand-thread all fasteners first to avoid cross-threading.
Tighten the bolts gradually in a criss-cross pattern to ensure even seating of the gasket. If you have a torque wrench, consult a service manual for the correct torque values for your Clio’s model year and engine. If you don’t, tighten to a firm, even feel — enough to compress the gasket but not so much you strip threads or deform the flange.
Torque guide (typical values — check your manual)
These are approximate and for guidance only:
| Bolt size | Typical torque |
| M8 | 20–25 Nm |
| M10 | 35–45 Nm |
If in doubt, aim for the lower end to avoid breaking bolts, and re-check tighten after a short test drive when the system cools.
Dealing with broken studs inside the manifold
Broken studs threaded into the manifold are the worst-case scenario for a home job. If a stud breaks flush, you can try using an easy-out (left-handed extractor) or drill it out carefully, but this requires judgement. I avoided drilling into the exhaust manifold on this Clio by cutting the flange off and replacing the pipe section instead. If the stud is hopeless and you can’t extract it without damaging the thread, consider replacing the manifold or seeking a machine shop to tap and weld a new stud.
Testing and final checks
Once reassembled, start the engine and listen closely for leaks. A small exhaust leak may appear as a ticking sound at idle that changes with RPM. If you hear anything, stop and recheck bolt tightness and gasket seating. After a short drive to heat and cool the system, re-torque if necessary.
Dispose of old parts responsibly. Corroded bolts and gaskets can be recycled in many areas; check local rules.
Tips I learned the hard way
Replacing a corroded exhaust flange on a Renault Clio with basic tools is entirely doable for a reasonably patient DIYer. The key is preparation, the right parts, and a careful approach to stuck hardware. If you’ve got questions about a specific model year or a picture of your flange, post it on the site and I’ll help troubleshoot the next steps.